Untangling the Playground Design Process
The process for designing a successful custom playground takes time, thought, creativity and planning. While you could simply piece together a few boards or build without blueprints, that’s not how we roll. To ensure structural integrity, the fulfillment of design intent, accessibility and complete client satisfaction, we follow a design process that is iterative, evolutionary and is both precise and open to exploration.
So how does it happen? How do we design custom playground structures that are inspirational, unique, and safety compliant? What are the detailed steps to build a playground? This is how it goes.
Step 1: Design Directive from Client
“The site has historically been used for…”
“We’d like to tell the story of…”
“This is our city’s favourite animal; they are loved beyond belief…”
-
- Design Directive from Client Notes Sketching Small
Every playground project begins with a conversation with the client or Landscape Architect that frames the story or site for the future playground. This design directive kicks off the creative process. With a rough budget in mind (as custom designers, we always work with clients’ specified budgets), we generate themes and ideas for playground structures like nothing else kids (or adults!) have ever seen before.
Some design directives are quite general – perhaps a desire for a natural playground that doesn’t have a specific theme but is built around natural materials, shapes and forms. Other design directives are very specific.
The Sugar Beet playground in Fort Collins, Colorado is a sculptural form of an enormous sugar beet, representing the foundational industry that the town was built around.
Grange Park in Toronto, Ontario plays homage to the surrounding art institutions with a paper crumple sculpture, charcoal pencil tower and paint tube sculpture.
Playground structures at Story Mill Community Park in Bozeman, Montana represent the agrarian history of the city, play towers that speak to the familiar old architectural forms:

Step 2: Background Research
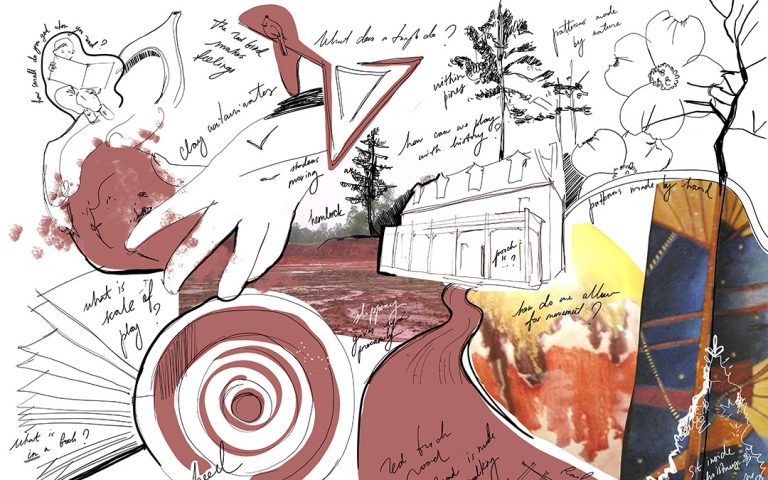
Idea generation. Background research. Looking up images. Reference photos. Library. Study of landforms. Digging through archives. What can we learn about the general area, specific site, geography, architecture, history, biology or ecology? A small group of designers begin the most creative part of the process.
Designers take different paths: Nat may search up unique insects, animals and birds. Nathan looks at architectural styles and forms. Tatiana examines landforms and shapes. Laura digs into site history and archives. Looking for inspiration and ideas, research provides the jumping off point for the next phase.
Step 3: Narrowing of Ideas
Where will the theme go? We discuss ideas. Refine ideas. Toss out ideas. Reimagine ideas. Ask each other for comments. Take feedback. Narrow down the options. We ask, “What could be the most exciting part? What idea has the most play value? Where are the innate storytelling opportunities?”
We design for big impact and uniqueness but also need to ensure that the ideas are constructible within the allocated budget.
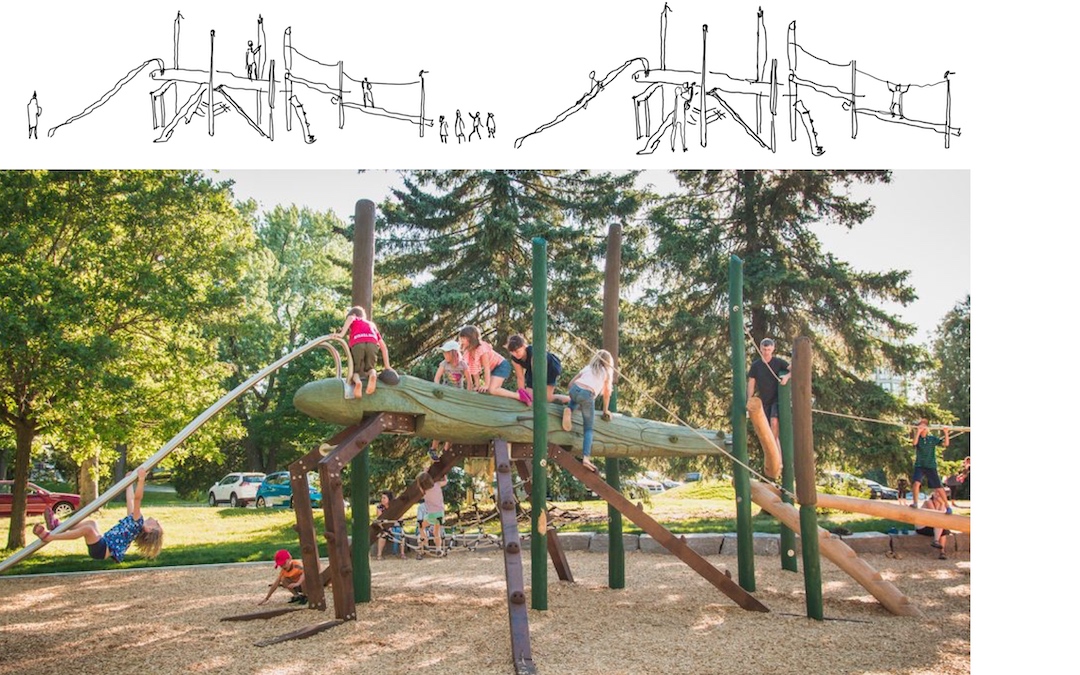
Step 4: Exploration through Sketching
Pencil to paper, bringing the idea to life. We incorporate motion and movement into sketches as we explore shapes and forms. Should the bird sit upright or have its wings extended in flight? Where are the access and egress points best placed on this mountain sculpture? Have we thoroughly thought through play for different abilities and ages? What does the interior play look like?
Children are sketched for scale. How do the sculptures and log structures fit in the actual site? What kind of play relationship exists between the proposed pieces? We sketch in perspective and plan view and normally propose several ideas for consideration. Our goal is to effectively communicate to our client the wondrous possibilities of future play equipment. To communicate the look, scale and, perhaps more importantly, the playground’s feel.

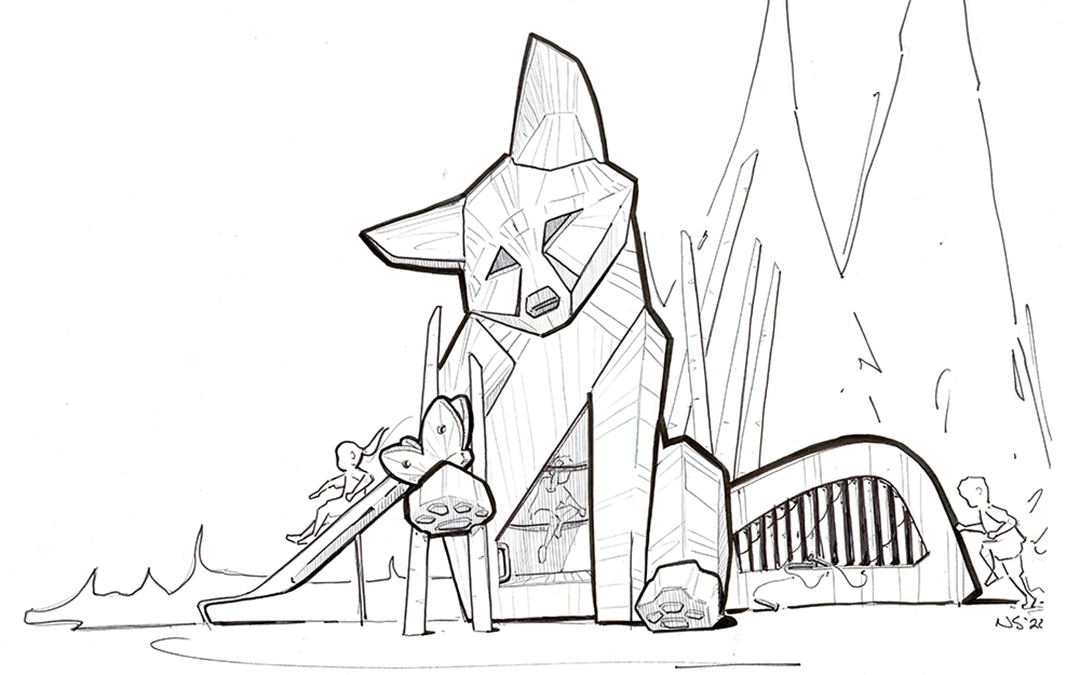
We do two rounds of sketches. The first is full of zany ideas for structures and creatures. The second is an exploration of the ‘chosen’ creature, structure or shape.
At this point we do a gut check for two things. Rough order of magnitude (ROM) – are we being a little too crazy for the budget? Second, a safety gut check – are we being a little too risky for the age range we are building for?
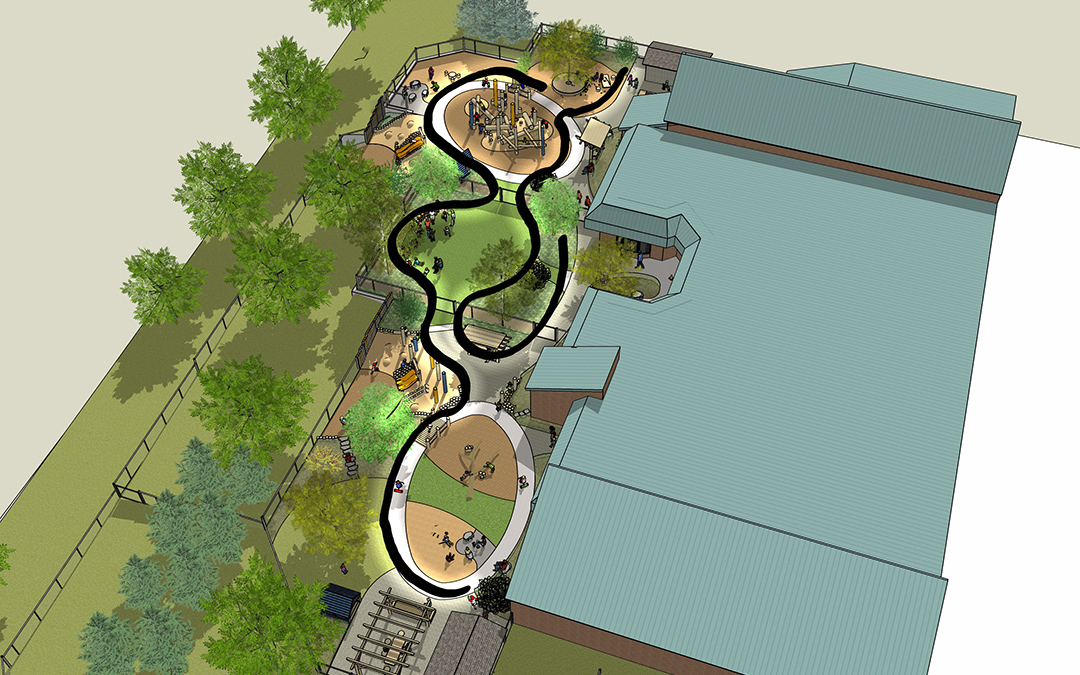
Step 5: Modelling and Animation
Sketches become 3D models animated in CAD software. Here we can measure, scale and layout the playground structures together and separately. We get a higher resolution of detail and can fly over the whole space and run through it from a child’s perspective.
We examine details, safety compliance, accessibility, play value and playability and discuss each piece at our weekly design team meetings.
We weigh in on each others’ designs as we think through flow, heights, children’s sizes and abilities and how to best design the play space for all ages. Detailing also helps us to really understand the cost, safety, and constructibility factors at play.
Step 6: Engineering
Each of our structures is further modelled and assessed by our engineering team and outside engineering consultants (when necessary). They translate the scale and ambition from concept into a structurally robust sculpture. Safety and ergonomic parameters are taken into close account. Engineering involves simulated testing for extreme conditions. We design and build for extreme longevity and natural events.
Fun fact: One of our playgrounds was installed a day before Hurricane Harvey reached Houston. The site was hit hard and was flooded for days. The wind was insane, the water was meters high. The playground structures were fine; a bit muddy, but they stood strong without any damage sustained. Our Engineers smiled but then, they knew that would happen.
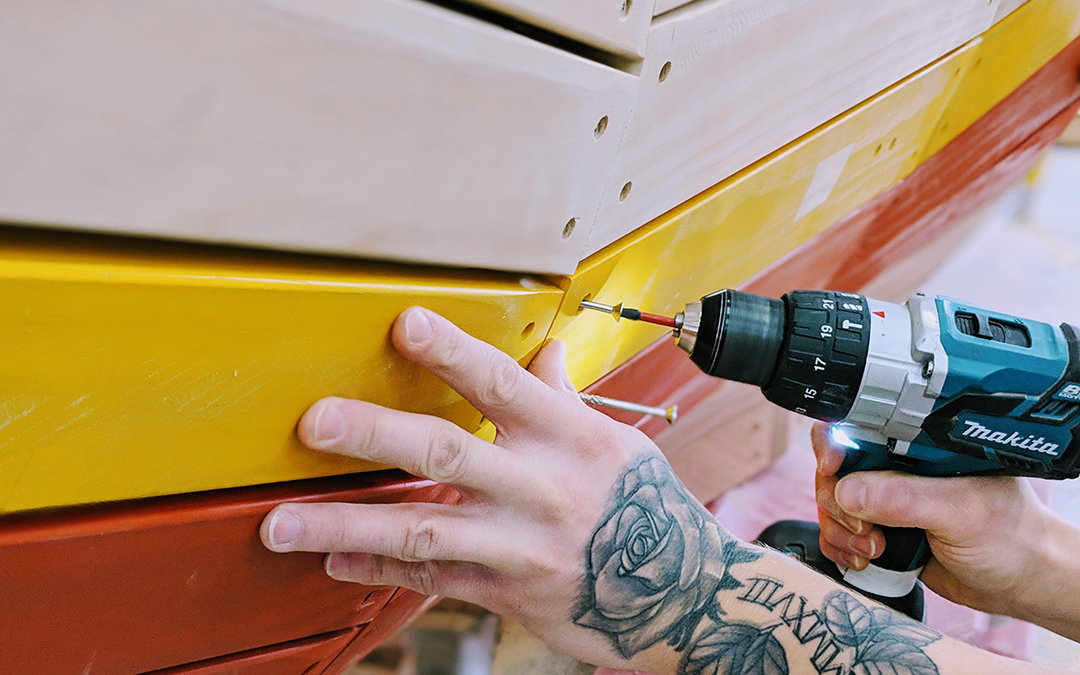
Step 7: Construction
It’s like a finely written musical score brought to life by the orchestra. Detailed construction drawings make it to the shop floor where every timber is measured, every board is hand cut, every angle mapped with precision and each piece is put into place.
Our wood carpenters and craftspeople are magicians. They meticulously craft our structures and sculptures from drawings with their own design eyes. Because our designers, engineers and project managers work in the same building, visits and conversations between teams are commonplace, so that the design intent is fully realized!